Pay in installments of $5.62 with
![]() ,
,
![]() and
and
![]()
Shipping Estimate
USA
- USA
- CAN
- USA
- CAN
Ships within 48 hours · Estimated delivery Jul 2 - Jul 7
For Your Every Summer RSVP, with Code: SUMMER15
Description
bambu lab extruder gear removal tool Bambu Lab P2S Extruder Gear Assembly /Extruder Filament Sensor /Toolhe – P3DExtruder Components Replacement Guide for the P2S Disassembly and assembly instructions for extruder parts. Extruder The P2S extruder is equipped with three independent accessories: Extruder Filament Sensor: Installed on the upper part of the extruder, it functions as a sensor for detecting filaments. Extruder Gear Assembly: Installed inside the extruder, it is driven by the extrusion motor to transport filament to the hot end or retract it from the
Extruder Components Replacement Guide for the P2S
Extruder
The P2S extruder is equipped with three independent accessories:
Extruder Filament Sensor:
Installed on the upper part of the extruder, it functions as a sensor for detecting filaments.
Extruder Gear Assembly:
Installed inside the extruder, it is driven by the extrusion motor to transport filament to the hot end or retract it from the extruder.
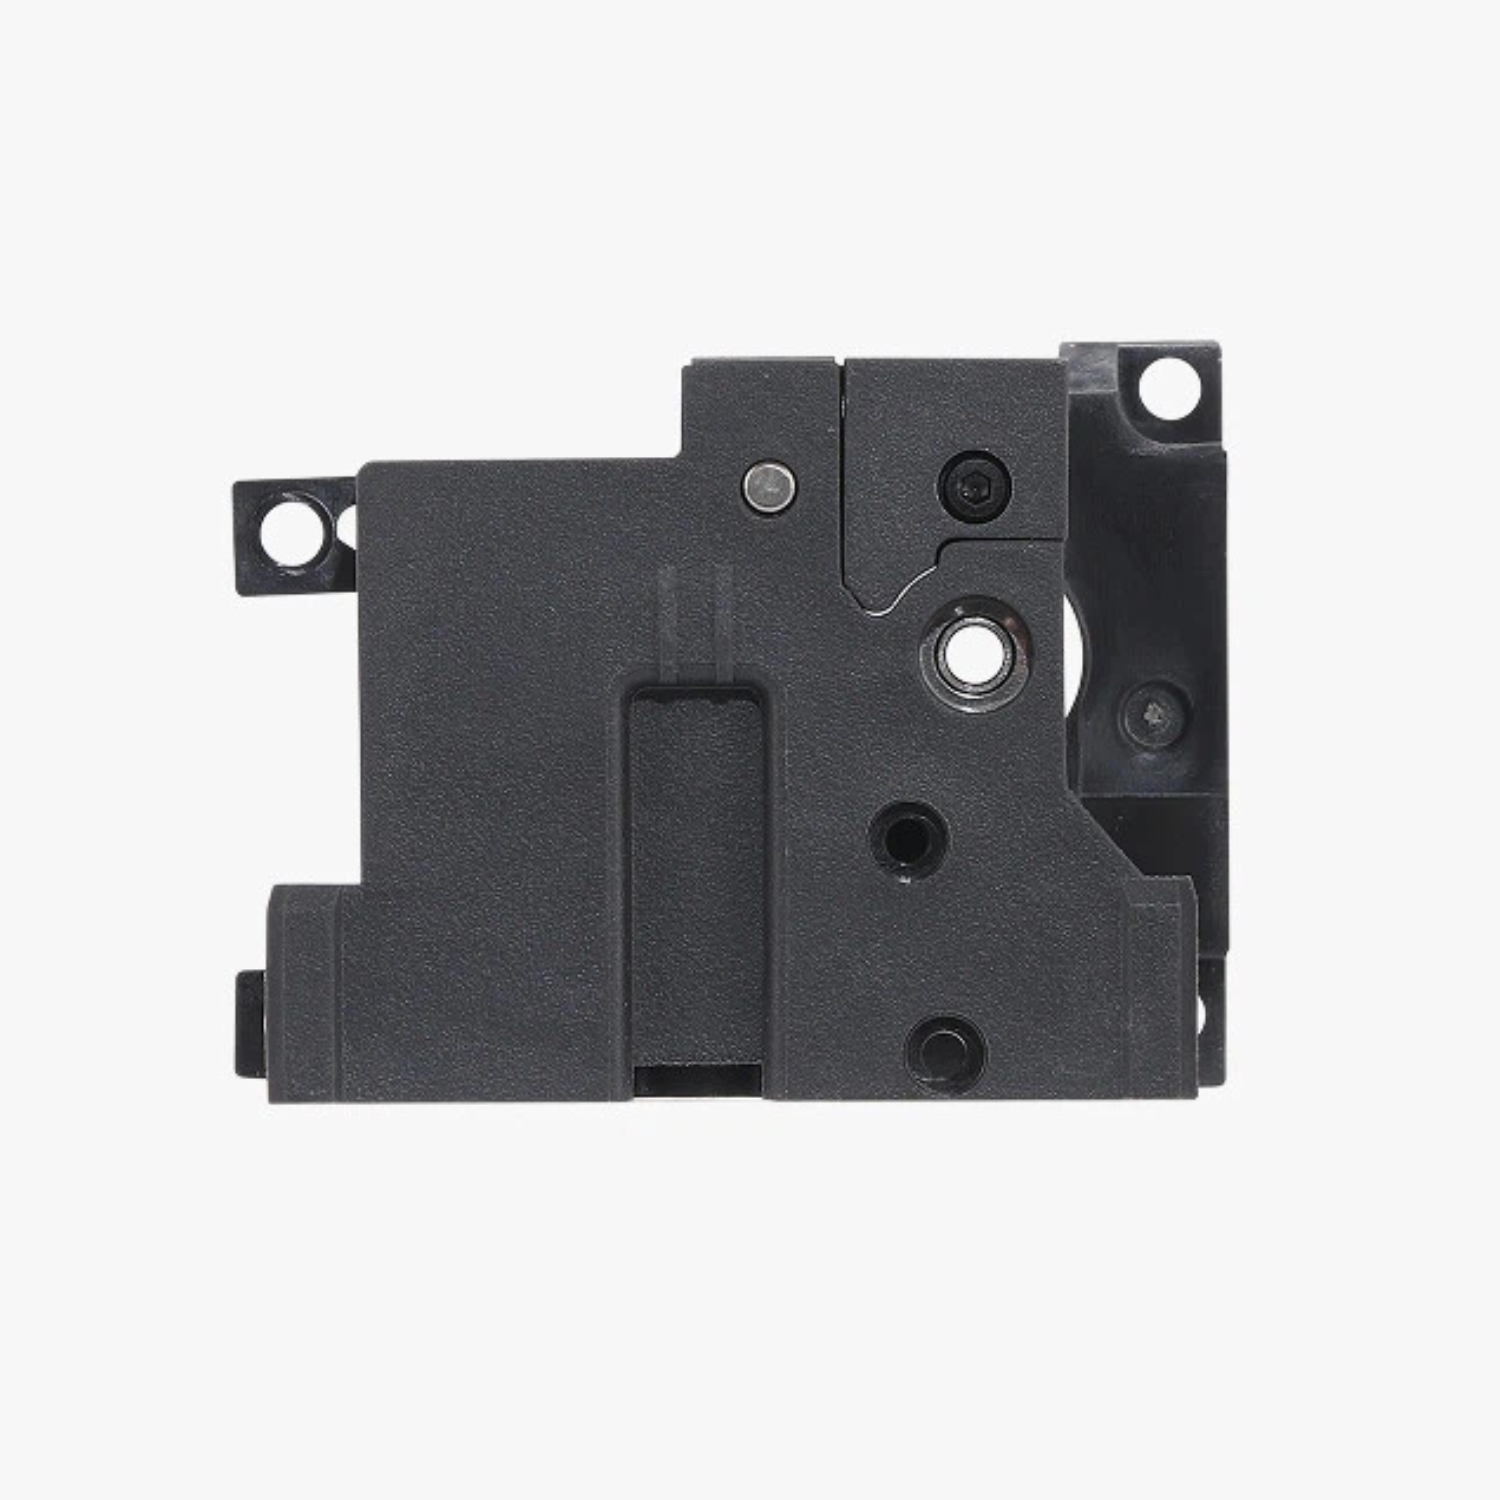
Toolhead Housing:
The outer shell of the extruder.
-
When to Use This Guide
Common situations that require replacement of the Extruder Gear Assembly:
Gear or bearing wear that causes printing abnormalities
If Bambu Lab technical support advises that the gear assembly needs to be replaced
Common situations that require replacement of the Extruder Filament Sensor Assembly:
If the filament detection function fails
Common situations that require replacement of the Toolhead housing:
If physical damage affects usability
Installation Note:
The screws used for the filament sensor are the black BT2-5 screws. Please check during assembly, as excessively long screws may damage the components and cause detection abnormalities.Required Tools and Materials
- Parts that need to be replaced: Extruder Filament Sensor Assembly/extruder gear assembly/Toolhead housing assembly
- H1.5 Allen key
- H2.0 Allen key
- Tweezers
Disassembling the Extruder
Step 1: Remove the Toolhead Housing
Refer to the instructions for Replace the Toolhead housing to remove the toolhead housing.
Step 2: Release the Cutter
Hold the cutter handle and use an H2.0 Allen key to loosen the cutter handle screw, allowing the cutter to be fully detached from the extruder.
Step 3: Remove the Extruder
Press the pneumatic connector and pull out the PTFE tube.Use tweezers to open the connector cover on the extruder interface board and disconnect the feed Hall plate cable.Use an H2.0 Allen key to remove the four screws, then take out the extruder.
Step 4: Remove the Extruder Filament Sensor
Use an H1.5 Allen key to remove the two screws and remove the extruder filament sensor.
Step 5: Separate the Extruder front cover and extruder gear assembly
The extruder contains many small components. To prevent any parts from falling out, place it on a clean surface with the gears facing upward.
Use an H2.0 Allen key to loosen the single screw and remove the yellow extruder drive wheel from the extruder.
Tip:
When filament is jammed between the extruder’s drive wheel and driven wheel, you may not be able to remove the drive gear directly from the front.If you can’t remove it directly, tap the shaft from the back side of the drive gear to push it out. Tap at the location shown below:The removal process is as follows:
Remove the pressing block, extrusion driven wheel and other accessories from the extruder front cover.
Assembling the Extruder
Step 1: Install the extruder gear to the extruder front cover
Install the extruder driven wheel onto the extruder front cover.
Install the spring and metal end cap into the clamping block, close to the extrusion driven wheel, and install the clamping block onto the extruder front cover.Install the extrusion drive wheel assembly and tighten the single screw.
Step 2: Install the Extruder Filament Sensor
Install the extruder filament sensor onto the extruder, and tighten the two screws.
Step 3: Install the extruder assembly
Install the extruder onto the toolhead carriage.Tighten the four screws.Connect the extruder filament sensor cable to the connector on the extrusion interface board. Close the connector and press the connector cover down until it fits snugly over the flexible cable.
Step 4: Install the cutter
Hold the cutter handle with your hand, slide the cutter into the extruder along the position of the cutter groove of the extruder, and tighten the handle screw with an Allen key.
Step 5: Install the Toolhead Housing
Refer to the instructions for Replace the Toolhead Housing to install the toolhead housing.
Verifying Functionality
- Ensure the handle moves smoothly.
- Power on and verify that the extruder filament sensor board can detect the status of the filament line normally.
- Power on and confirm that the extruder can be driven normally by the extruder motor.
Shipping Notes
- Free Standard Shipping on $100+ Orders to the USA.
- Except Preorder products are shipped in 48 hours.
- Delivery to the USA:
- Standard Shipping : 3-10 business days
- If time is of the essence, please consider selecting expedited delivery for faster service.
Exchange/Return Notes
- We offer a 30-day return/exchange service after receiving.
- Final sale items are not eligible for returns or exchanges.
- To process your return/exchange, please contact us at [email protected]
- Please click here for more details>>> Return & Exchange Policy